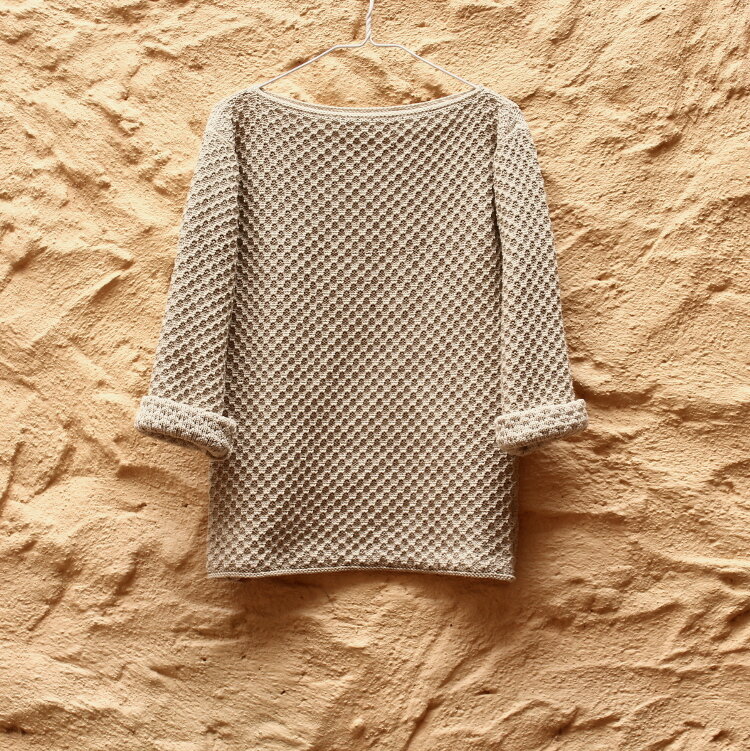
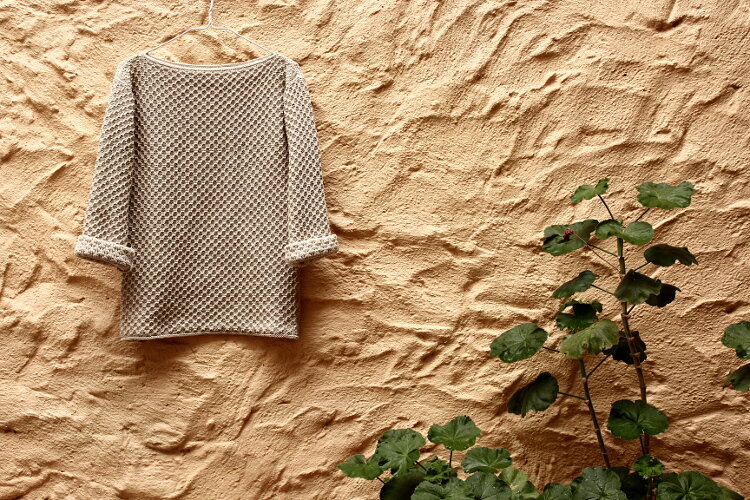
Textured Sand Sweater. FO Details.
FO - Sand Sweater
Happy Wednesday! It seems like it's been forever since my latest finished knit - it feels amazing to have something off the needles! Sand sweater was quiet a challenge, but a fun kind of one.
Project Details
Pattern
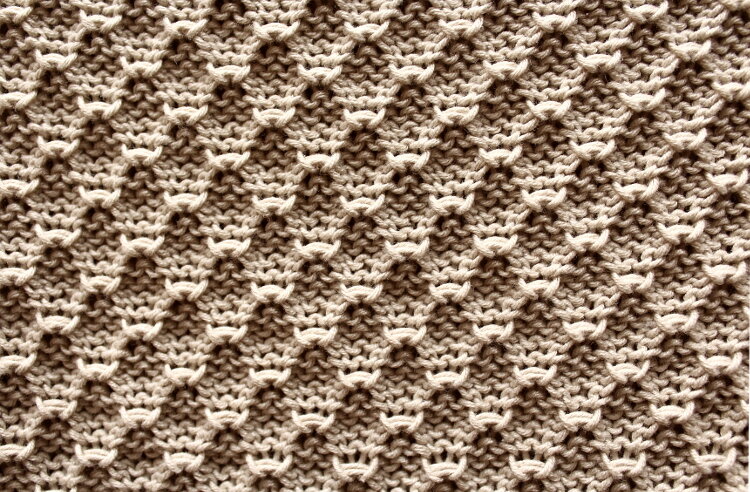
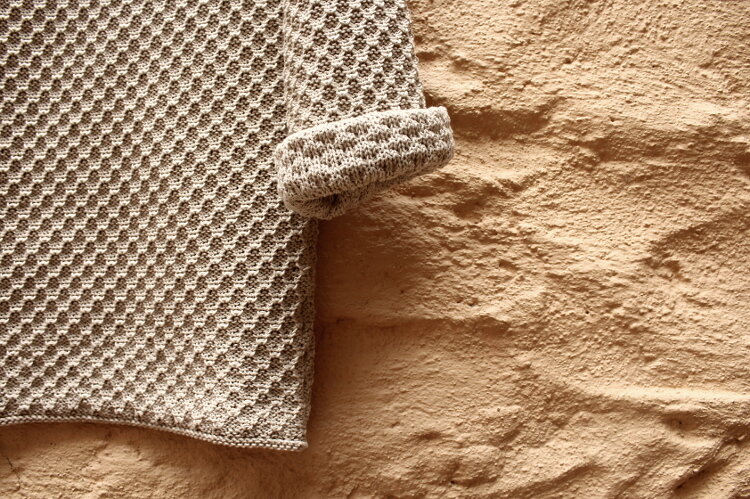
I didn't use a pattern, just made some notes before starting a project, but changed a lot of them during the process. I used Tuck Stitch textured pattern for the whole sweater. You can see step-by-step photo tutorial here - How to Knit a Tuck Stitch. Machine Knitting and Hand Knitting Tutorial.
Machine Knitting Process
Machine used – Silver Reed LK150, stitch dial – 3.5. As I told you many times before, machine knitting process is so far from mechanical and automatic one, you really have to be watching carefully what you are doing and in case of this stitch even more so – the carriage settings that have to be adjusted every 4th row, the needles position, the tension. In some way it reminded me of weaving.
Yarn
100% local mercerized cotton. I love this yarn a lot and especially in this color, it's just a perfect shade of neutral beige. But after finishing the project, I think that if I started all over again, I would change some things – either yarn itself or the gauge. I love how the sweater turned out, but the combination of yarn/tension/planned fit of the garment wasn't 100% perfect. Tuck stitch creates a very textured fabric and it is slightly on the stiff side when knit pretty tightly using mercerized cotton.
I wanted to make an oversize sweater, but understood that the fabric won't have the necessary drape, so I went down with the ease. The good thing is that I have tons of ideas now how to use this fabric quality in the future. It will be just fabulous for structured garments! As for this kind of sweater, next time I would use pima cotton, or organic soft cotton, or alpaca, or merino/silk blends – that would make a very cozy, textured and soft oversize sweater!
Design Details
Fit.
Modified drop shoulder pullover with the positive ease.
When I finished working on a back piece of the sweater and took it off the needles, I realized it was way too long. It often happens to me, when working with a new stitch or design or yarn on the knitting machine, a lot of things might go wrong, no matter how well I prepared the swatch. You just can't predict 100% how the fabric will behave after it is off the needles and as if it is very distorted on the machine bed, you can't say for sure if you are moving in the right direction.
Anyway, the back piece was so long it looked like a dress. If it was just a drop shoulder pullover, I could just rip off several rows at the end, but as I had a little bit of armhole shaping involved, I couldn't do that. Just on the side note, there is a great article on how and where you can modify the length of the garment without sacrificing the shaping -First amendments: altering length in a knitting pattern.
So I had to rip off several beginning rows. It took forever, but it was worth it – the sweater was saved!
[gallery link="file" columns="2" size="medium" ids="4411,4412"]
Neckline.
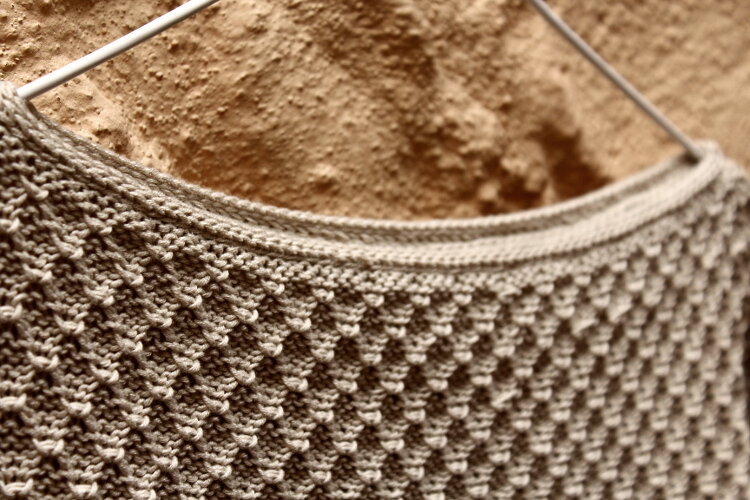
I love boat necklines! They are so easy to shape (= no shaping at all) and they look so elegant and simple!
Trimming:
- Step 1 – crochet slip stitch chain along the neckline (see step-by-step tutorial – How To Trim Necklines in Sweaters).
- Step 2 – applied 4-st i-cord. Helpful video tutorial - Applied I-Cord Border Basics.
Happy note - I finally grafted I-cord edges perfectly!!!
Hem.
Hem is always a struggle for me in machine knitting. I have a very simple machine and it can't do any kind of ribbing automatically and transferring stitches manually takes way too much time. Plus, I don't really like the cast on edge created on the machine - the stitches are quiet stretched out, because of the weights attached to them that are used to pull the piece of fabric down from the needles bed. So, the hem finishing takes quiet a lot of time.
A little note on the machine knitting – you just have to make peace with the finishing. If you are a knitter who enjoys the knitting process, but just can't stand seaming/trimming/picking up stitches and all the finishing sweater fun, then machine knitting is not really for you. Finishing often takes more time than actual knitting. You can't make seamless garments, so you need to seam all the pieces, trim neckline/hem and all the raw edges. But on the second thought, I realize that I quiet enjoy the finishing part of the sweater knitting process now and I think it came to me because of the machine knitting! It grows on you.
Back to the hem. To create a nice looking neat hem, I unraveled the first row and put the live stitches back on the machine needles, the wrong side facing me and knitted 4 plain stockinette stitch rows. Then I took the piece of the machine and bound off the stitches with 2.5 mm needle. The stockinette stitch part naturally curved up and created a hem that looked very similar to reverse stockinette stitch I-cord, but it took much less time!
Sleeves.
It was really fun working on the sleeves, as it included much more shaping than the body. If the front and back pieces are practically two straight rectangles with some stitches bound off for the armhole, the sleeves had to be tapered much more. And as I was knitting in overall tuck stitch, I had to improvise and think how to place the increases to keep the stitch pattern as intact as possible. It was like solving a puzzle!
Adding one more sweater to my knitwear wardrobe! I haven't bought any knitwear for almost two years now!!! I never thought I would be able to do that! Now I have another dilemma - what happens when I have enough knitwear pieces in my wardrobe or it is just impossible? :)
RELATED POSTS
